


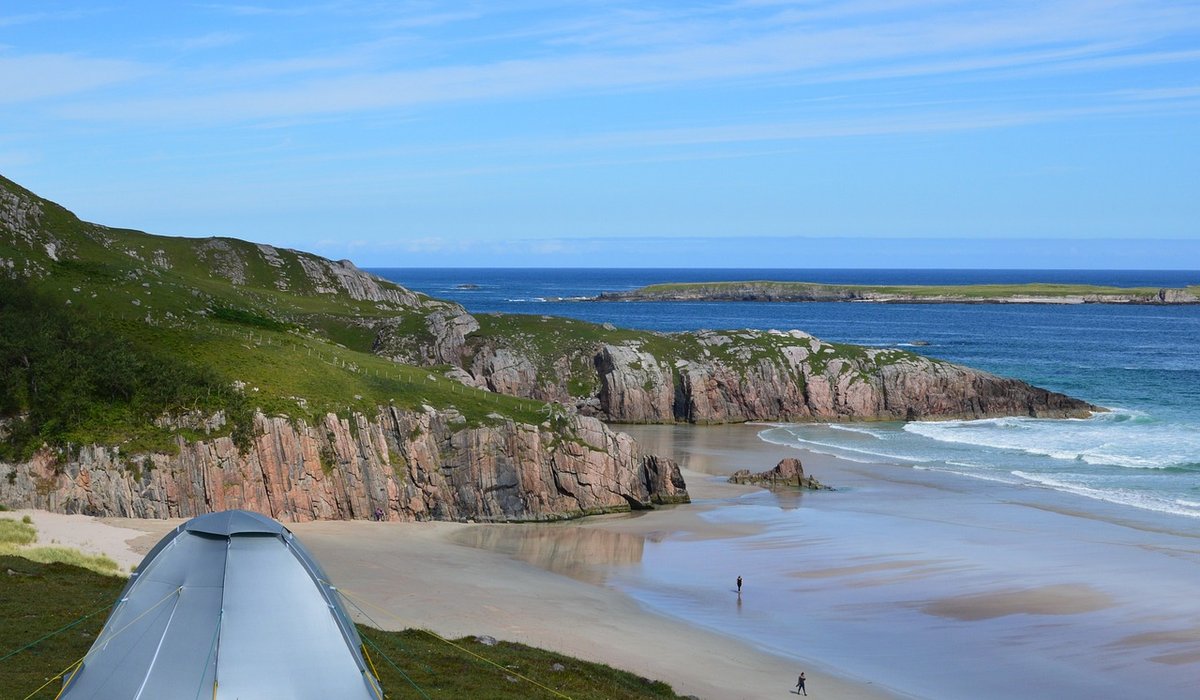
The mood is in the weather, not the price tag
Some of the most atmospheric landscape photographs ever made were taken with a modest camera and a great deal of patience. Mood comes from weather, light and the way you arrange the frame — not from the number on the price tag. If you're walking the ridges of Snowdonia or the coast of northern Norway, the drama is already there. Your task is simply to notice it and to point your camera at it with intent.
That means making peace with grey, wet and windy days. Bright blue afternoons tend to flatten a landscape and make everything look like a postcard. Mist in a Scottish glen, rain sweeping across a Lakeland fell, low cloud clinging to a Norwegian mountainside — these conditions give depth, mystery and a real sense of scale. Dress for the weather, carry a dry bag and a microfibre cloth, and head out anyway.
Work the edges of the day
The light does most of the heavy lifting, and the best light rarely happens at lunchtime. Aim to be on the hill for the first hour after sunrise or the last hour before sunset, when the sun sits low and the shadows stretch. In the UK and Scandinavia that can mean very early starts in summer and short, precious windows in winter — but the reward is worth the alarm clock.
- Blue hour: the twenty minutes before sunrise and after sunset, when the sky glows and colours turn soft and cool. Perfect for lochs, fjords and still water.
- Golden hour: the warm, low light just after sunrise or before sunset. Best for moorland, mountain ridges and long shadows across a beach.
- Bad weather windows: the moments when a storm breaks and a shaft of light hits the hills. These last seconds, so have your camera ready and your settings pre-set.
If the sky is flat and featureless, don't force it. Point your lens downwards at rocks, heather, moss or a stream instead, and let the foreground carry the picture.
Compose for atmosphere, not for postcards
A moody photograph usually feels quiet and layered rather than wide and busy. You don't need a sweeping vista; you need depth, separation and a strong sense of place. Walk around before you shoot. Look for a foreground that leads the eye in — a boulder, a tussock of grass, a fence line, a ripple of water.
- Use layers: a dark foreground, a mid-ground ridge and a hazy background create depth even in flat light.
- Include mist and cloud: let them hide parts of the scene. What you conceal is as important as what you reveal.
- Shoot into the weather: turn your back on the sun and shoot towards the rain or fog for a softer, more contemplative feel.
- Go vertical: a portrait orientation suits trees, waterfalls and narrow valleys far better than a wide frame.
Get more from the kit you already own
You do not need a full-frame camera to make a moody image. A phone, a bridge camera or an older DSLR will all do the job if you understand a few basics. The single biggest upgrade is a cheap lightweight tripod, because it lets you shoot in low light and use slow shutter speeds without blur.
- Shoot in RAW if your camera allows it. You'll keep far more detail in the shadows and highlights for editing later.
- Lower your ISO and use a tripod rather than pushing the sensor. Clean files always look moodier than noisy ones.
- Try a slow shutter of half a second to two seconds for moving water, drifting cloud or wind-blown grass. A phone with a long-exposure mode can do this too.
- Underexpose slightly to protect the bright sky, then lift the shadows later. It's easier to rescue a dark image than a blown-out one.
- Carry a polarising filter if you have one — it cuts glare on water and deepens foliage without changing the mood.
A gentle edit that keeps the mood
Editing is where moody images either come alive or turn into muddy messes. The trick is restraint. Work with free or inexpensive software on your phone or laptop and stick to a few deliberate moves.
Start by lowering the highlights and lifting the shadows just enough to see detail. Cool the white balance slightly for a Nordic or Scottish feel, or warm it a touch for golden-hour shots. Increase contrast a little, then reduce saturation on greens and blues rather than the whole image. Add a subtle vignette to draw the eye inwards. Above all, keep the sky natural — grey skies should stay grey, not turquoise.
The best moody photographs feel like a memory of a day out rather than a technical exercise. So the next time the forecast looks unpromising, take it as an invitation. Pull on your boots, head for the hills, and let the weather do the rest.


Leave a reply